Quote:
Originally Posted by Builder G.

Thanks Paulinoz, Great info and Photos. Do you remember if any special tools are required for the dis assembly? Thanks in advance.
|
Two common different size metric spanners (wrench in your speak, sorry can not remember the size) a small Phillips
head screw driver.
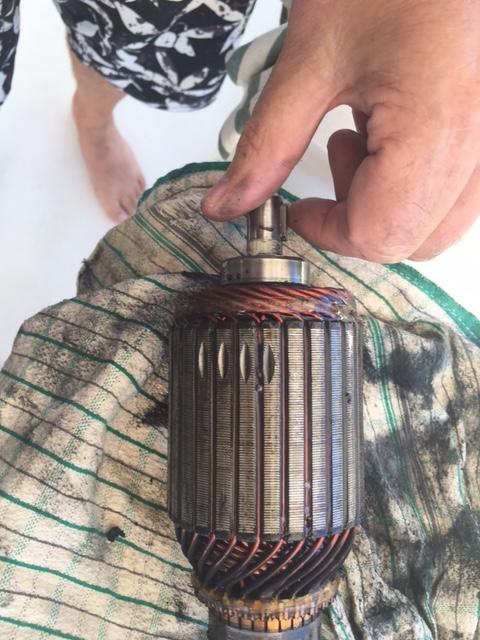
The motor is quiet heavy and you are working on your back through the anchor well
hatch. Two metric nuts at front of motor and it is meant to slide back of the gearbox. Mine was siliconed on from the factory, so took a lot of grunting and wiggling to get off. The motor shaft has a small key on it that located into the hollow gearbox shaft. (do not drop the key it is a bitch to find amongst the chain)
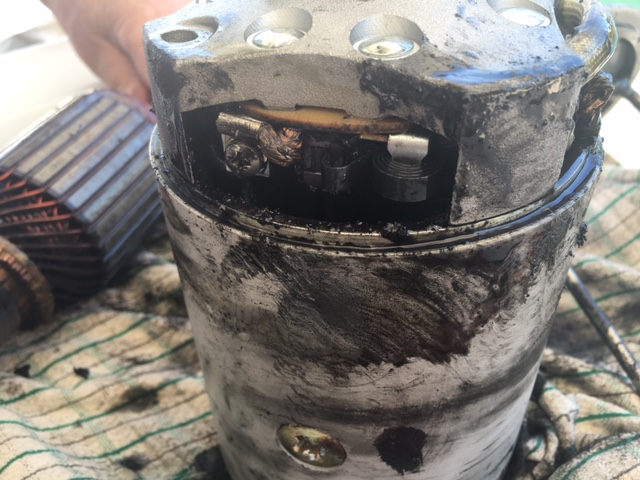
To gain access to motor the plastic
shroud is held on with 15 or so small screws, then the
cables can be removed and motor exposed.
Once motor is out the gearbox is attached to the underside of the windlass in the anchor well with another 4 metric nuts.
The top and bottom seal on the gearbox are the same with a different size on the motor drive input shaft.
I could find
zero information on
oil spec or qty for gearbox so went with SAE 90
gear oil, filled up level with the filler hole on the side of gearebox approx 500ml.
It is defiantly made easier if done in a marina when anchor not deployed. Next time I will remove the chain from the anchor and drop all into the anchor well. Level out the pile of chain as best you can and cover with a big bit of cloth to catch tools or
parts that may be drooped. With the chain off the windlass you can rotate the gearbox by hand at the input shaft to re-align the key on re-assembly.
The job is not hard it is just made awkward by the access and position you need to get into to get at it.
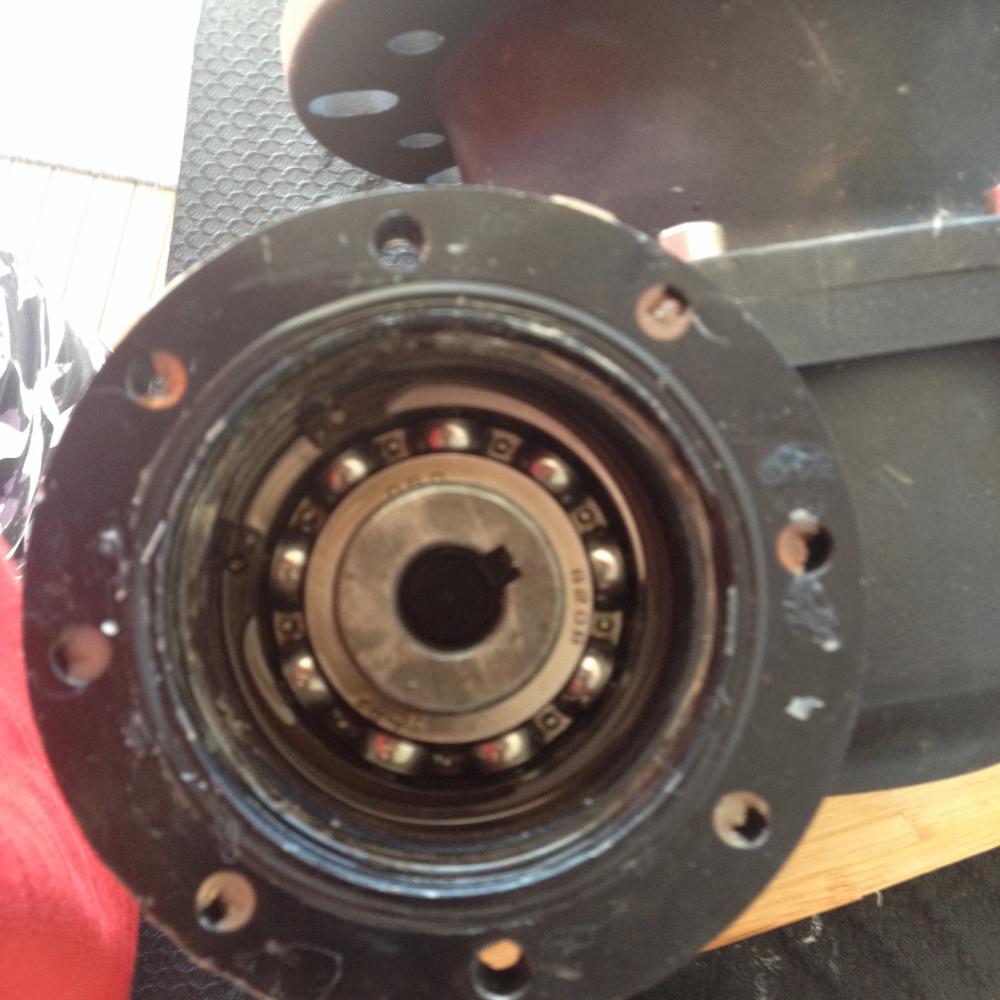
Gearbox input shaft showing key way and silicone sealer that held it on as well as two nuts. This is the seal that leaked oil into the
electric motor.

Seal removed for replacement input bearing can be seen retained by a cir-clip.


 Linear Mode


 Recent Discussions